In my last post, I documented where to go to get registration keys. In the last part of the post, I added a note that was specific to Canadian Payroll and today learned that it no longer applies, at least not for recent versions of Dynamics GP. I have edited that part of the post now.
This post is a very brief overview of the 2 things that need to be done in a company in Dynamics GP where the Canadian Payroll module is utilized. At some point, I may start a series on more topics around Canadian Payroll but for today, it’s just two things to know that aren’t necessarily obvious or well-documented. Please note: this is specific to Dynamics GP, this is not a general “payroll in Canada” post!
Registration Keys for Canadian Payroll
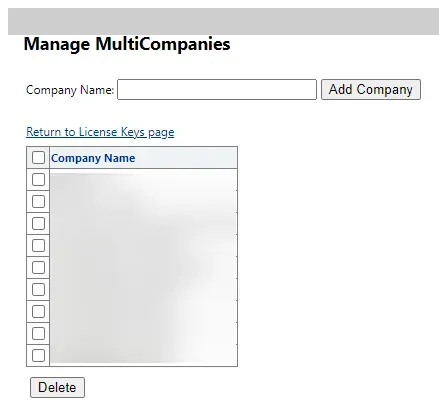
Special keys are no longer required, where they once were something that needed to be set up specially for Canadian Payroll in a “Manage MultiCompanies” link on CustomerSource. Those who have used GP for a while may recognize the window below.
I am writing this post in the context of GP 18.x because no other versions are supported any longer. That means if it is an older version of GP and still using Canadian Payroll, it will not be using current tax tables/rates and it should be upgrading (or moving to an external payroll provider).
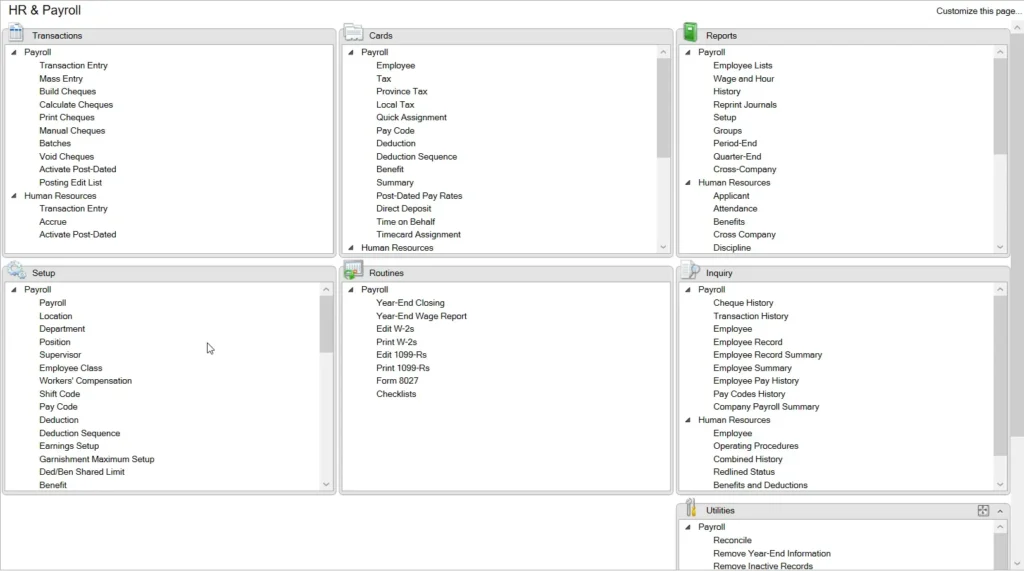
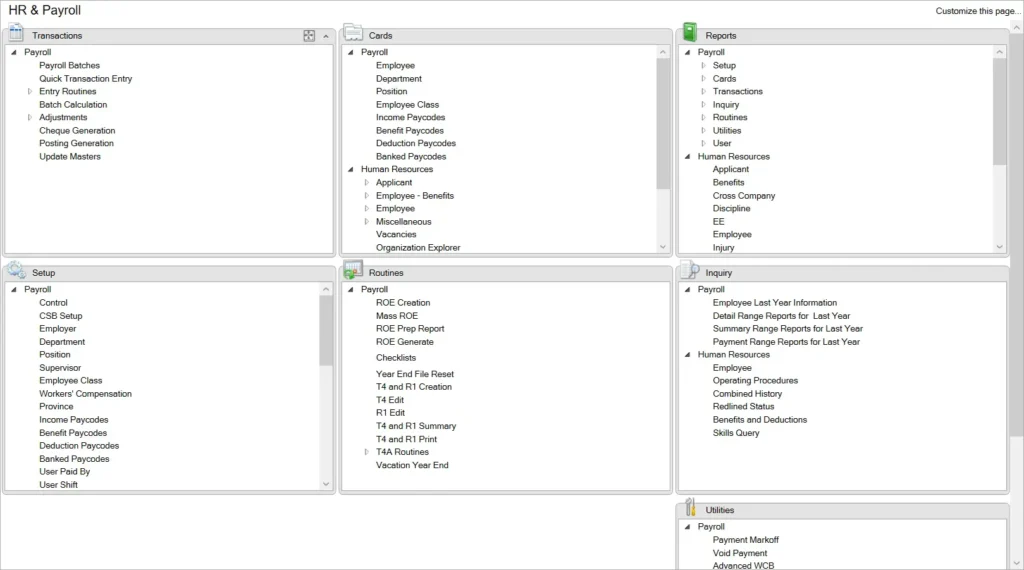
Now, all that being said, in a newly created Dynamics GP company, even with Canadian Payroll installed, the “Payroll – Canada” menus do not appear in the HR & Payroll navigation pane until someone starts to configure the Canadian Payroll Control window. Here is what the HR & Payroll navigation pane looks like: US payroll items only (& possibly Human Resources if that is installed like it is in my test environment).
Task #1 – “Enable” Canadian Payroll
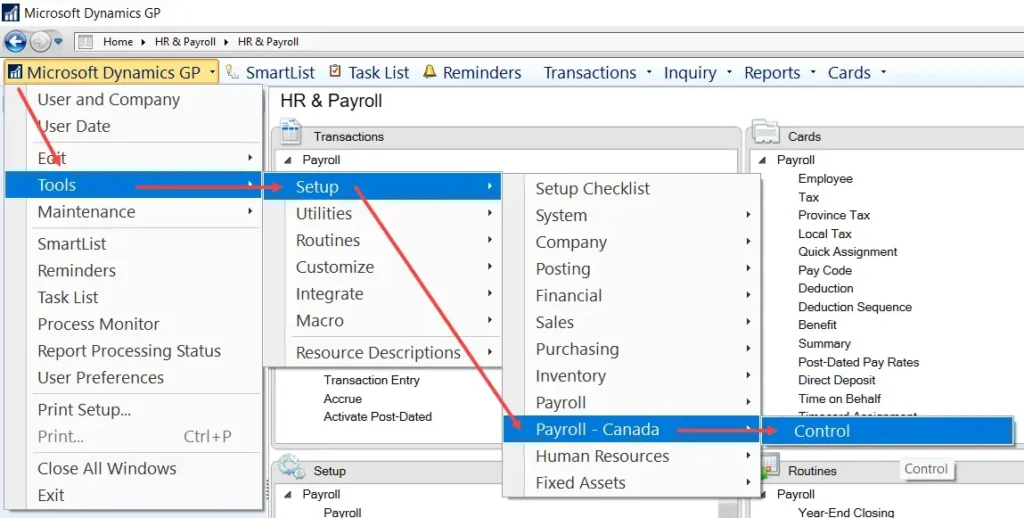
This is the first thing someone needs to do in a new company that requires Canadian Payroll to be configured. In the nav pane, there is no entry for Canadian Payroll, so to enable the module, go to the Microsoft Dynamics GP menu > Tools > Setup > Payroll – Canada > Control.
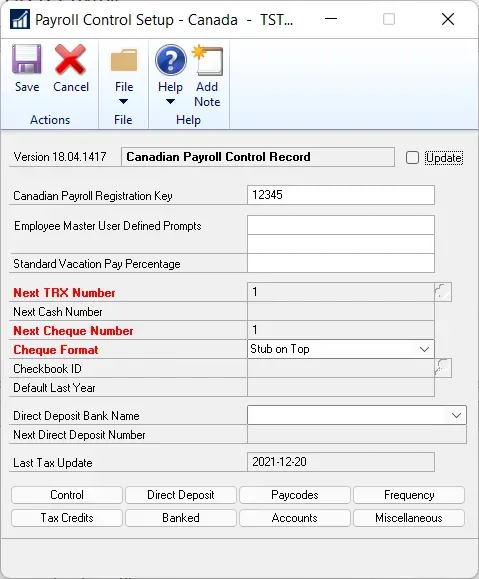
There are 2 required fields (plus a drop-down list that is required) but only one of the fields is empty when this is first opened (Next Cheque Number). For the registration key, it does not seem to matter, it seems like the window just needs to be opened to initialize the module. In my case, it’s a test database so I am not completing some of the other things I would ordinarily configure here for now. I will revisit other fields in this window some other day!
💡 NOTE: the Canadian Payroll menus will not appear until the user logs out of the company and back in. Also, the US Payroll menus will no longer appear on the navigation pane and will be accessible only via the menus.
Task #2 – create “CPY” source document type
The second thing that isn’t documented anywhere (to my knowledge) is the default “Source Document” code for Canadian Payroll does not get automatically created when CPY is installed, and a user will only find this out when trying to post their first payroll batch.
To be clear, this does not impact payroll itself, but the first batch posted will not post through to the GL until the source document “CPY” is created. The journal entry will be sitting in the GL waiting for the Source Document to be created, and then it can be posted from the Financial batches window.
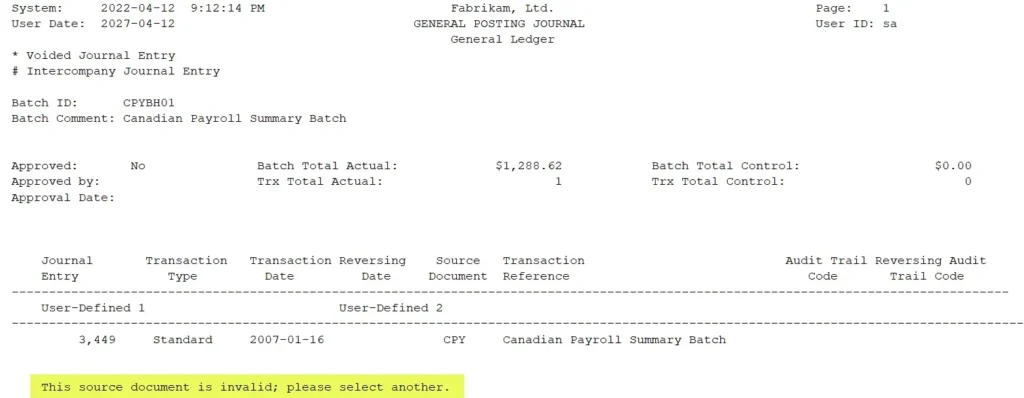
This is a test batch from Fabrikam (sample data, very outdated!). If I attempted to post this batch without creating that CPY code first, it would not post. The Edit List would show the error “This source document is invalid; please select another.”.
Here’s how to add “CPY” to the Source Document list:
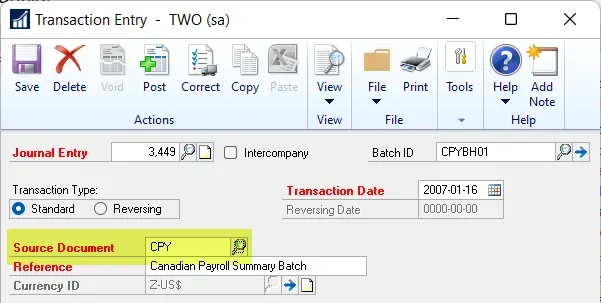
- Open the Transaction Entry (aka journal entry) window
- Click on the Source Document lookup
- In the lookup window, click on New to open the Source Document Setup window.
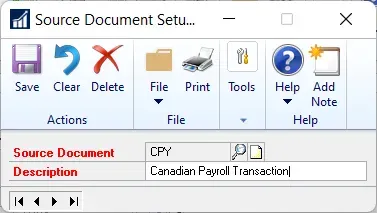
- Enter “CPY” as the Source Document and put in a description.
- Click Save and close the setup window.
Summary
That is it for this post. At this point, Canadian Payroll is ready to be configured!