Great news! GP 2018 R2 was released today, October 2, 2018. There are tons of posts on the official Dynamics GP blog about the features through their feature of the day series.
I downloaded and installed it on my Surface Go, so I could try it on this device as well as check out the new features. After I was done, I went through the Intelligent Cloud setup to see how it looked.
Getting Started
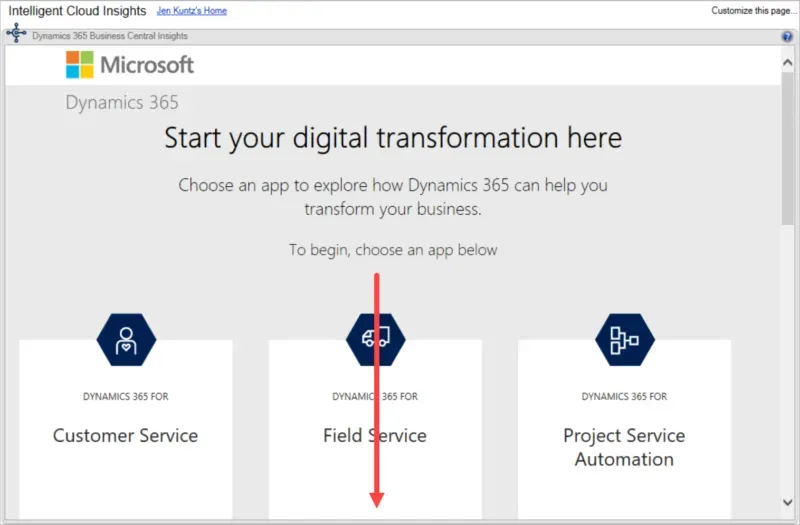
First off, log into Dynamics GP 2018 R2. If the home page isn’t defaulting to Intelligent Cloud Insights, click on that to get started. Scroll down to the very bottom and click on Try It Out. This will bring up a page like this:
Scroll down to the bottom of this page, and enter credentials for the tenant to connect to. Honestly, I don’t know what the phone number has to do with it, but it requires it.

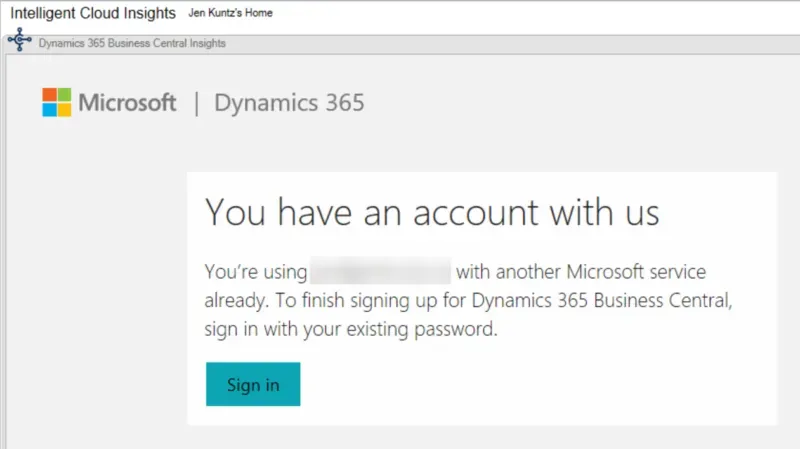
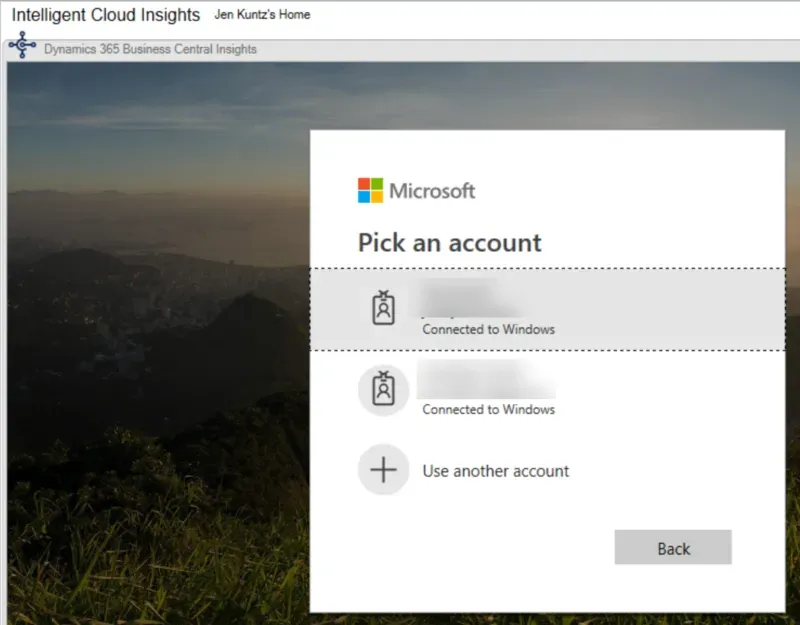
If an account already exists in Azure/Office 365, users will be prompted with something like this.
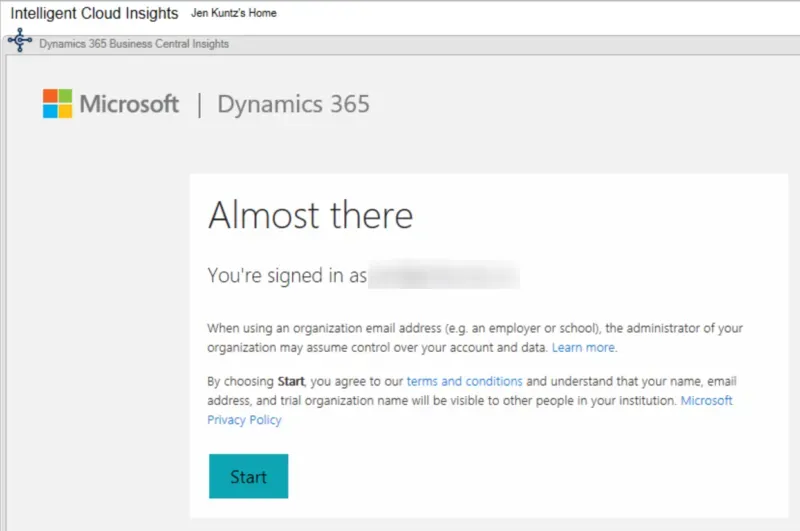
Next up is a warning that the admin may assume control over the account and data.
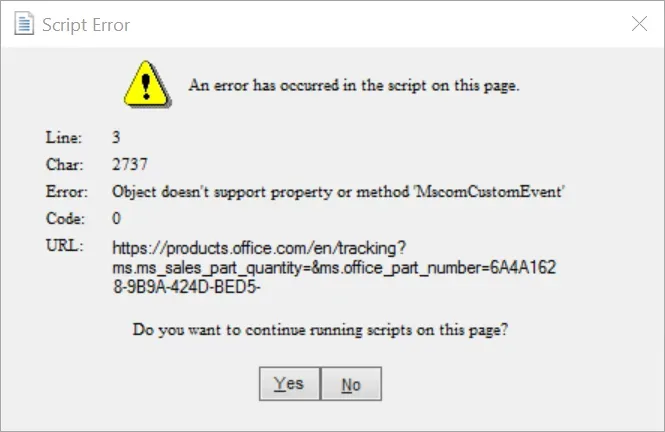
I did get a script error, but I clicked on Yes to continue running scripts on the page and it continued just fine. YMMV…
It feels like I’ve already logged in at this point, but all I’ve done is click through a variety of warnings. At this point it wants me to log in. I am still inside Dynamics GP at this point, by the way.
Finally, it appeared to be doing something!
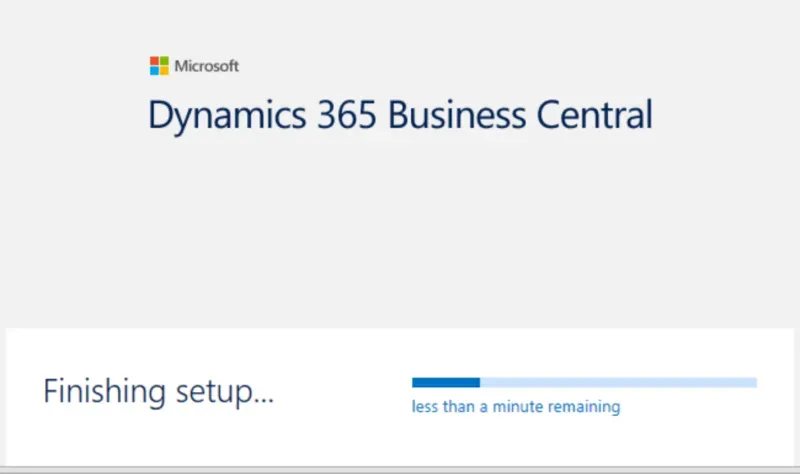
Next up, since I don’t have an actual Business Central tenant, it asks me to set up a trial. I clicked on Get Started to continue.

Intelligent Cloud Setup
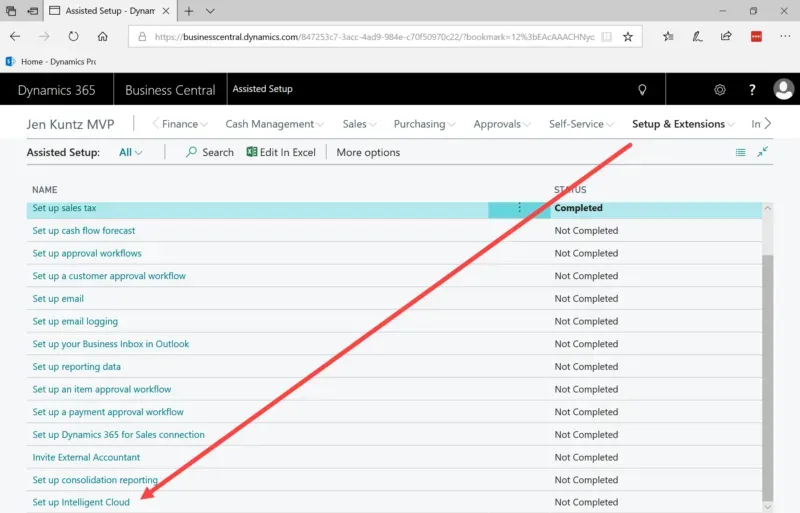
Now in a regular browser, I log into my O365 tenant and Dynamics 365. I go to Setup & Extensions, scroll to the bottom and select Set up Intelligent Cloud.
This is the bare minimum I have to do, not go through any other trial setup, as I’m not setting up “Business Central” itself.
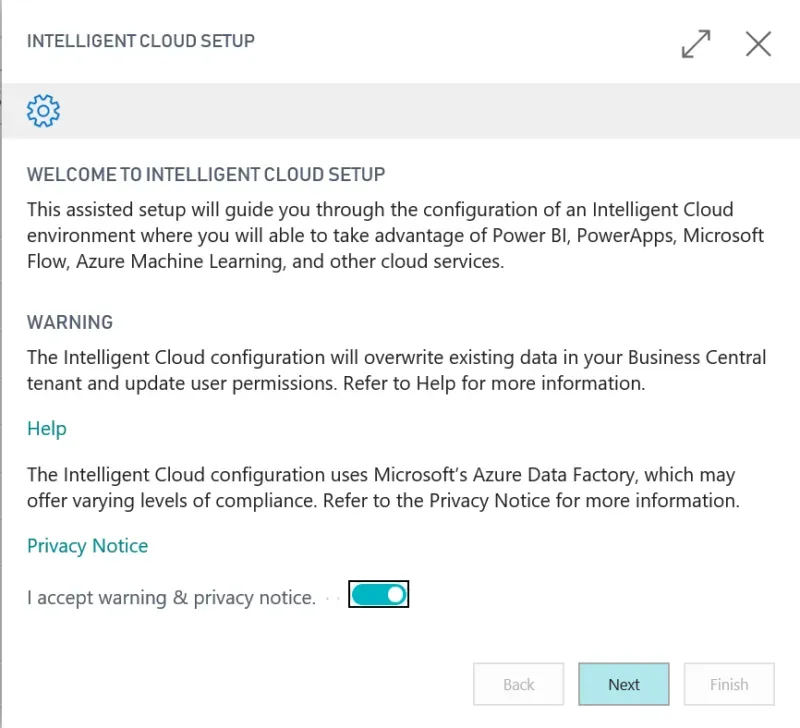
In the Intelligent Cloud Setup, accept the terms and click next.
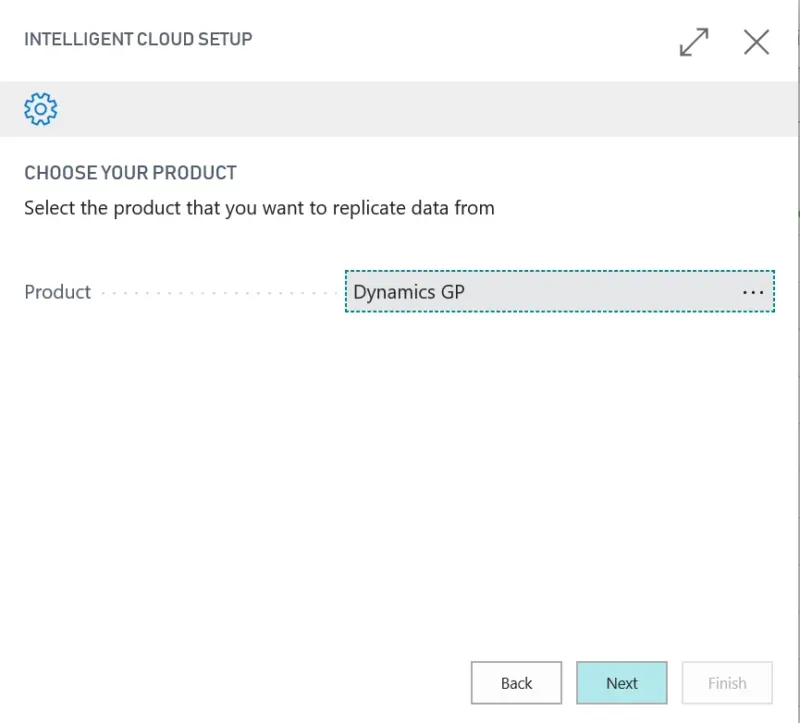
In this next screen, select which product I am planning on replicating from.
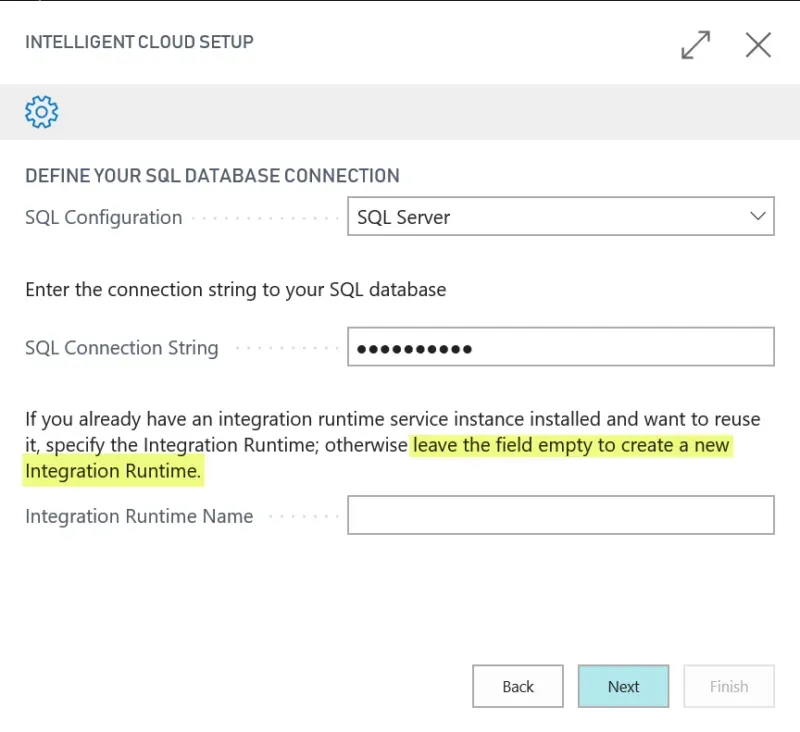
The first time here, leave the Integration Runtime Service field blank, it will bring me to the subsequent screen to install that.
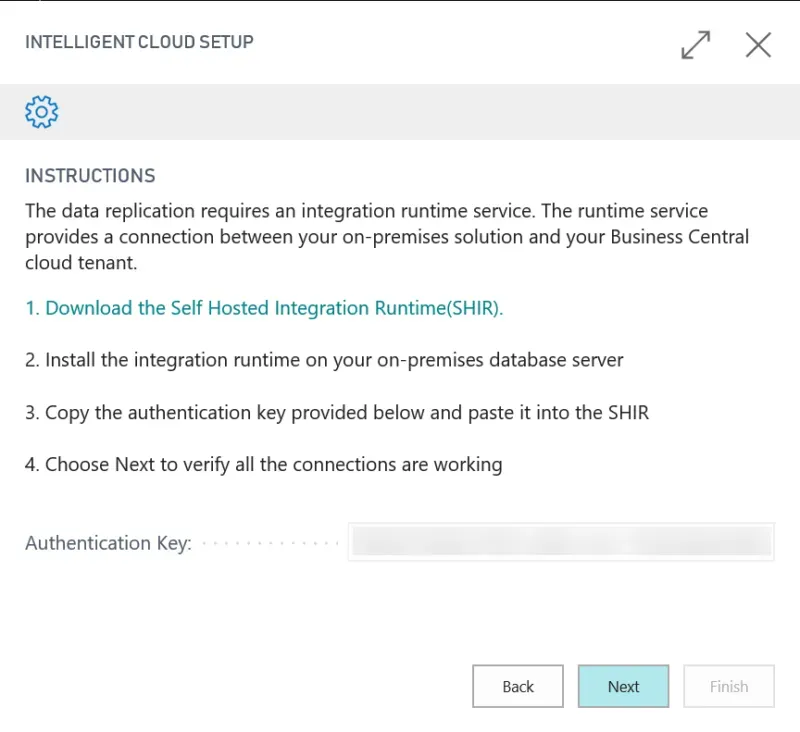
In the instructions phase, I was given a link to download the Self-Hosted Integration Runtime file. The next section will run through that. I left this open as I will need the Authentication Key in my installation.
Integration Runtime Installation
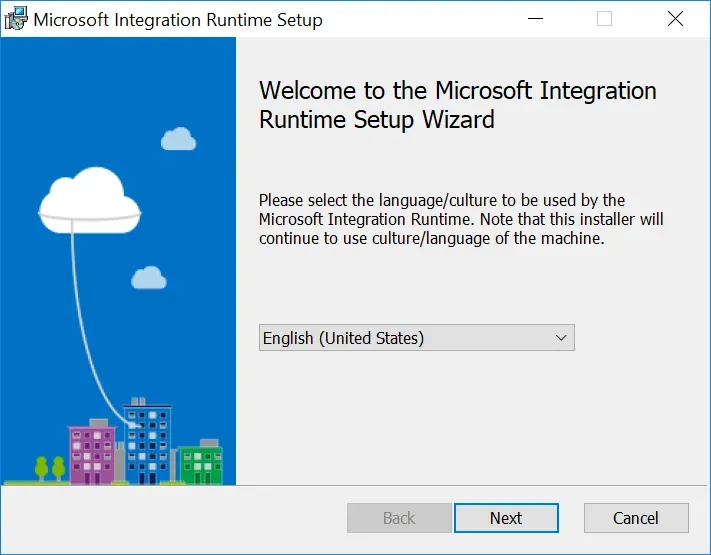
Walk through the wizard from here to install the runtime. In this part, I skipped some screens as it was pretty straightforward “next, next, next” type of stuff.
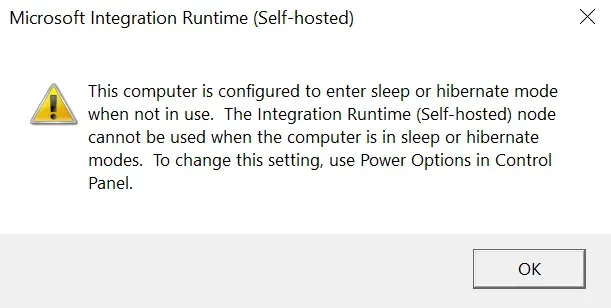
I did receive a warning – about sleep mode. It’s a laptop, not a server so when installing this in a regular server environment, users likely won’t get this message.
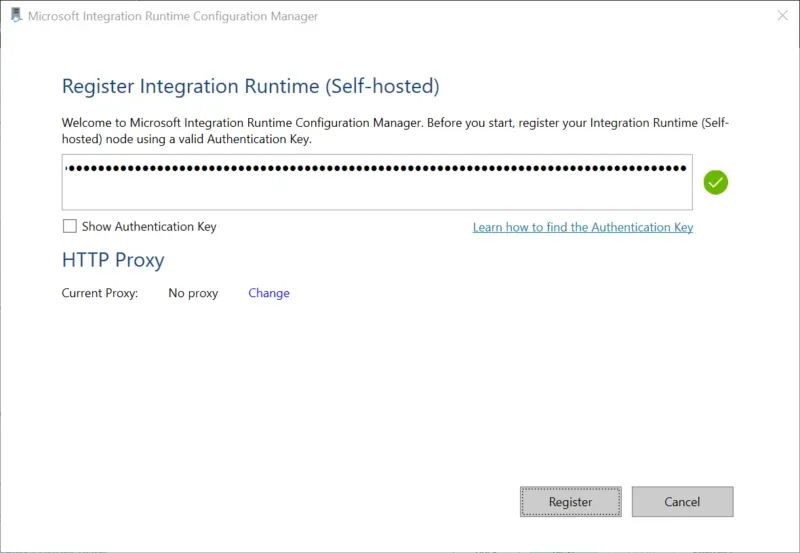
Copy the Authentication Key from the browser setup and paste it in should result in a checkmark.
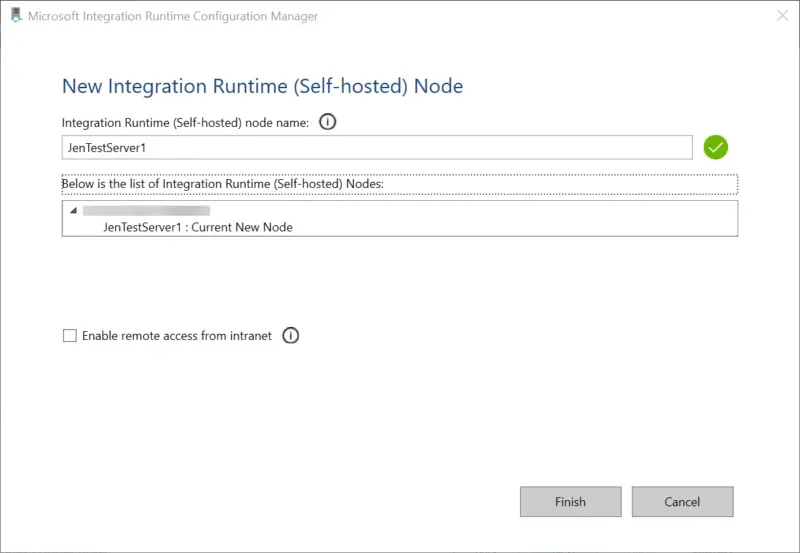
Next up I have the option to rename the Node name. I can have up to 4 nodes connected to 1 runtime service. I made up a name to test this and continued.
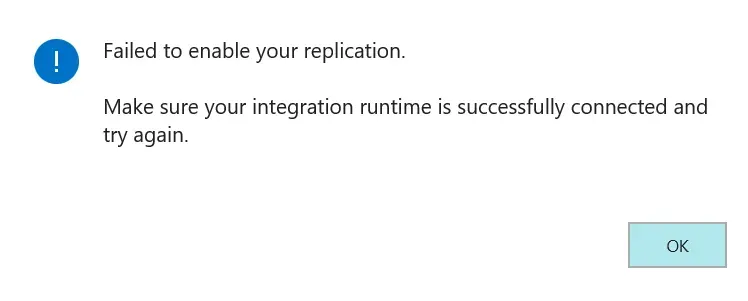
At this point, I returned to my browser to continue but got a failure message. My mistake? I put the COMPANY db in the connection string, not the SYSTEM db, which is DYNAMICS in my case.
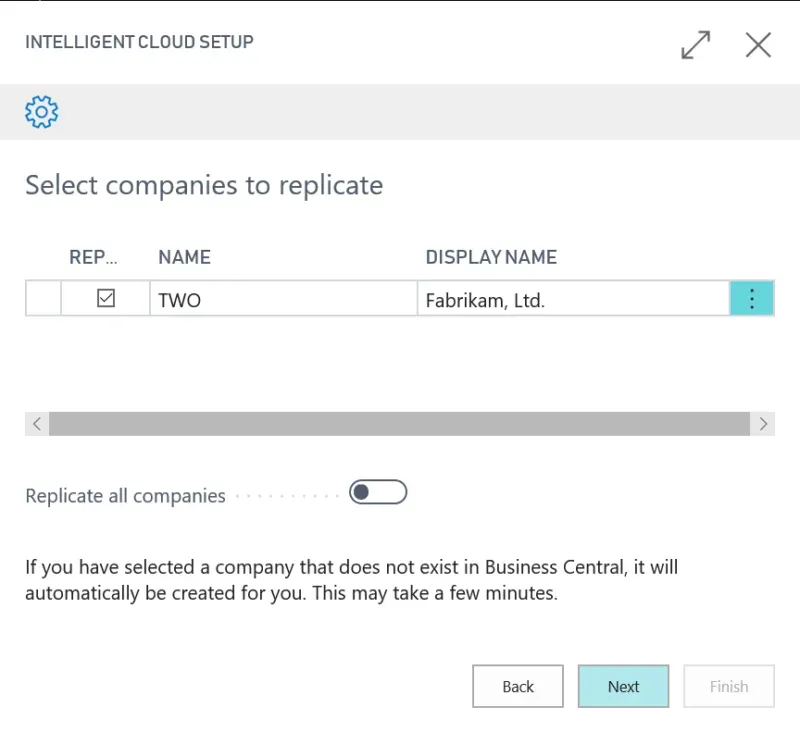
Once I fixed the connection string, all was fine. The next screen shows me the companies I have (in my case, a simple install with only one company at the moment).
Next is the schedule. In my case, I don’t want to activate a schedule yet since this is a laptop, not a server. Oddly enough, not pictured, I HAVE to put in a time of day even if I have Activate Schedule turned off.

After filling in a time of day (and not activating), I clicked Next.
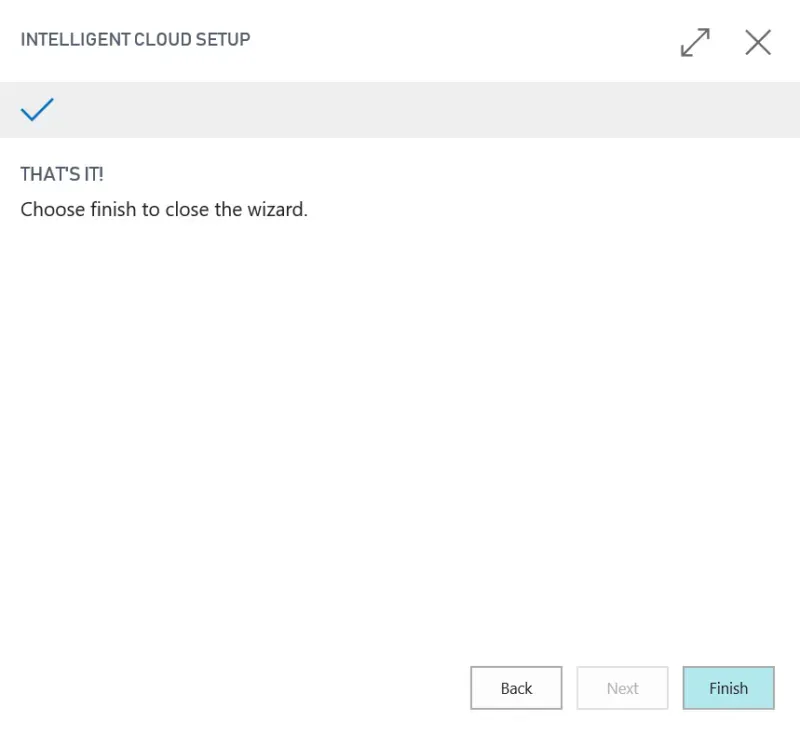
That’s it!
To see the data, I now needed to go to the Gears icon at the top of the D365 window and select Fabrikam (TWO) as my company to continue. I was logged into another company when setting this up but it creates a company for each company I replicate.
The D365 wizard prompts me to run through some settings for my “company” but I let the default settings apply and turned off the need to sync with a bank etc., and continued through.
Managing Replication
The one flaw in my plan is not setting up a schedule and I couldn’t find where to manage replication. It’s well hidden: I had to search for Intelligent Cloud Management in D365.

Under the Actions button, there are several actions including Run Replication Now. I did that and now look at this, I’ve got some data! Ah, everyone’s favourite 100XLG Green Phone! Love it!

That’s it for now. It looks like I’ve got a lot of inventory of 128 SDRAM so I had better get “selling”!