Today’s #TipTuesday contains some Lookup window tips. After last week’s tip on finding a shortcut to the Available to Promise window, I realized some hidden gems on Dynamics GP Lookup windows are often overlooked.
What’s a “Lookup” window?
Simply stated, these are the windows behind any magnifying glass icon in Dynamics GP. The primary purpose of these is to find or “look up” a record and use it or view it in another window.
The basics of a Lookup window
Most Lookup windows have a similar look and feel, at least within the Dynamics GP core product modules. Some “formerly a third-party product” modules (Fixed Assets for example) or actual ISV or third-party products, many of these things may not apply.
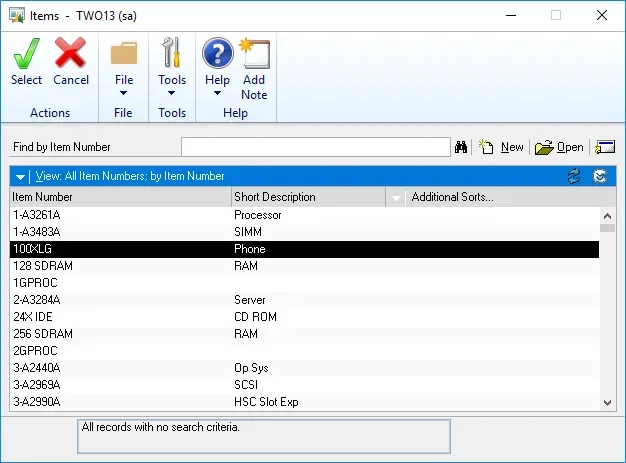
For this general feature overview, I’ll use the Accounts lookup as my example. Below that is the Item lookup and other than actual content, the windows are virtually identical.
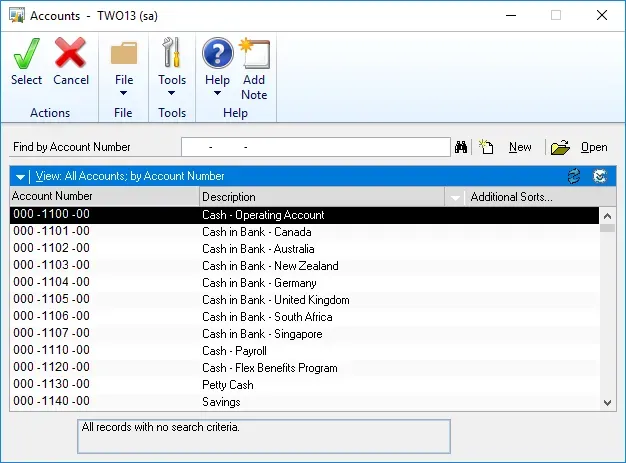
- Find By: at the top of the window, the words Find By ___ will be the field being sorted in the Lookup window. In both of my examples above, the ID is the field that is the default sort in the window so that is the default Find By.
- To change this: click on any column heading to both re-sort the window by that column and to search in the Find By text box. The words change to the column name selected (Find By Account Number becomes Find By Account Description, for instance).
- Pro tip: when using the Find By text box, to “start” the search, exit the field (i.e., press the Tab key on the keyboard). I repeatedly see users clicking on the binoculars icon, which opens up an advanced search. Many users feel they need to click on something to “find by” what they type in the text box because many other windows in Dynamics GP have a “Redisplay” button!
- Binoculars icon: clicking on this button opens up an Advanced Search window which is the same search window as one would use in Smartlist. Up to 4 fields can be searched at a time, match 1 or match all options, etc. just like a SmartList search.
- New and Open buttons: The New button opens the “Maintenance” or “Setup” window for the type of lookup, to create a new record of that type (GL Account, Inventory item, etc.). This does require that the users have security to that window of course, as the button is always enabled (I believe) regardless if they have access or not. The Open button opens the selected record in the Maintenance or Setup window, for editing or whatever purpose.
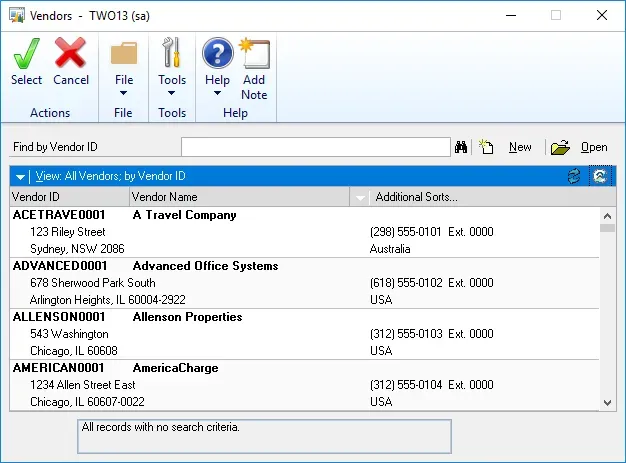
- Show/Hide button: AKA the “mini-blinds” as I like to call them, the button on the right-hand side of the blue bar expands the lookup window to show multiple lines of data.
- Example: above is the expanded Vendor Lookup window. If I have multiple Vendor IDs for similar vendors or the same vendor with multiple addresses, this can be an easy way to differentiate without selecting one by accident and picking the wrong one.
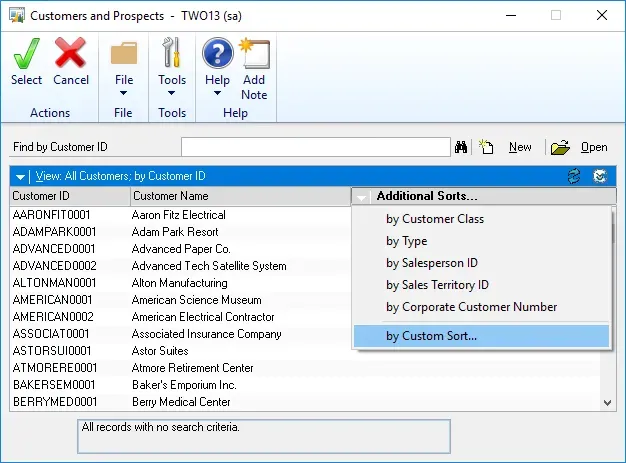
- Additional Sorts: The “3rd” column on most Lookup windows is the Additional Sorts column. The Lookup windows have some pre-defined relatively common fields that users can choose from.
- Example: on the Customer Lookup, Customer Class, Salesperson, Territory etc. are some of the fields users could choose from.
- If none of those are relevant, choose Custom Sort and this is what users will see:
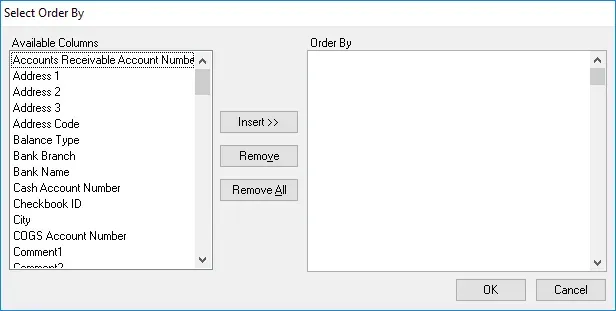
- In this Custom Sort window, users can select nearly any field related to the set of records they are looking up and insert multiple fields to sort on.
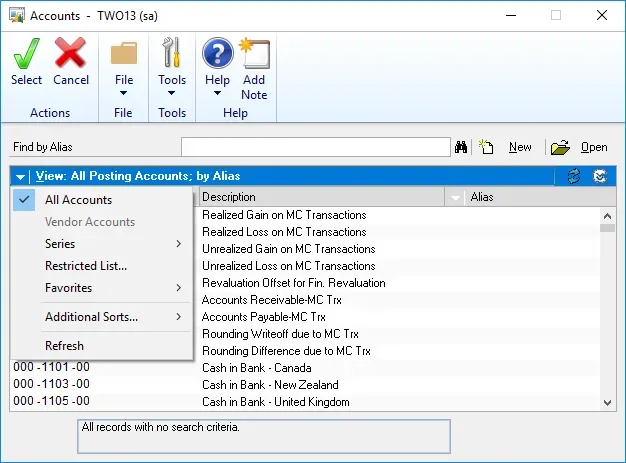
- Clicking on the blue bar above the fields and column headers will show the different options for View By.
- Each type of Lookup may have different options here. On some Lookups, users can “Set as Default View” for their lookup from this menu (Customer, Vendor, Item etc.). That means setting criteria for the Lookup and that “sticks” the next time they use the lookup.
- In sub-ledgers, often there are options for hiding inactive records in this menu.
- The “Favorites” option shows SmartList favorites for that particular related SmartList that users can restrict their lookup by.
- In transaction lookups for modules like Sales Order Processing, there are options to view records only in the selected batch or all batches and view all SOP Types or just one.
Those are the highlights of the Lookup windows, and that’s all for now!