I recently purchased a new laptop and loaded it up with 16 GB of RAM so it could handle having multiple instances of Microsoft Dynamics GP on it. Two of the instances are of GP 2016. One of the wrinkles of having test machines with multiple instances of the same version of GP is ensuring service packs are applied to the correct instance, without affecting the others.
What is installed
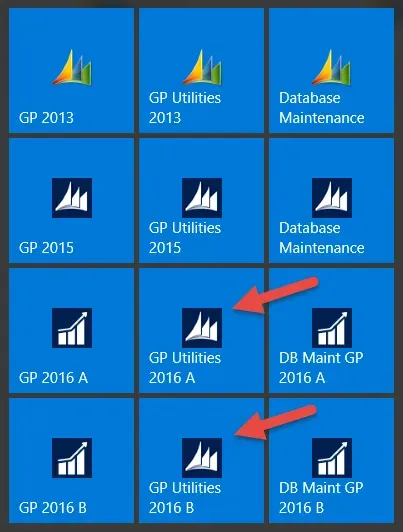
I’ve put the following on my laptop: GP 2013 R2, GP 2015 R2 and two instances of GP 2016, pre-R2. I’ve got clients on the older versions so I installed both of those versions with the approximate module mix they have, to semi-mirror their environment. I can’t necessarily replicate having all of the ISV products but at least I can have core GP with the functionality they use to test and reference things if I need to.
Funny observation: the icon progression over the versions is interesting. One oversight is the icon on GP Utilities for GP 2016 is the old icon, not the new one.
The year-end tax updates were just released for 2016 and I’ve included Canadian Payroll on all 4 instances so I wanted to keep them up to date with the latest tax updates for 2017. For GP 2016, R2 was released on December 1st so I wanted to patch one of them initially so I have an “R1” and R2 version to play with and compare features if needed.
Applying Service Packs with multiple versions
The good news is there was nothing special to do for GP 2013 or GP 2015 service packs as they both know there is only 1 instance that is of their build, and the service pack was applied to the correct instance automatically.
Easy peasy!
For GP 2016, if I were to run the .msp installer, without doing what I document below, it would apply the patch to both instances. So, the rest of this is how to avoid that “apply to all” scenario.
My two instances “before” the update
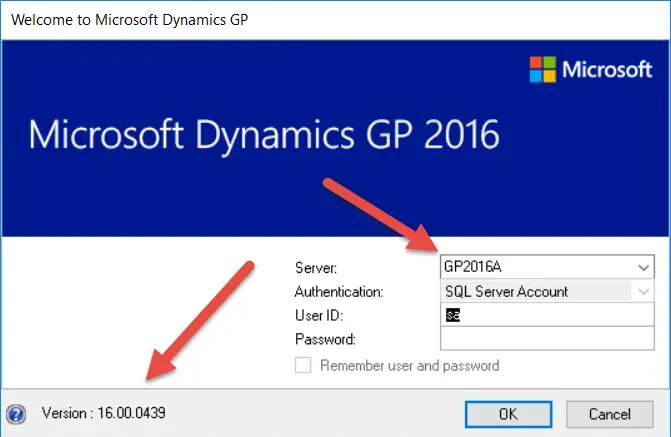
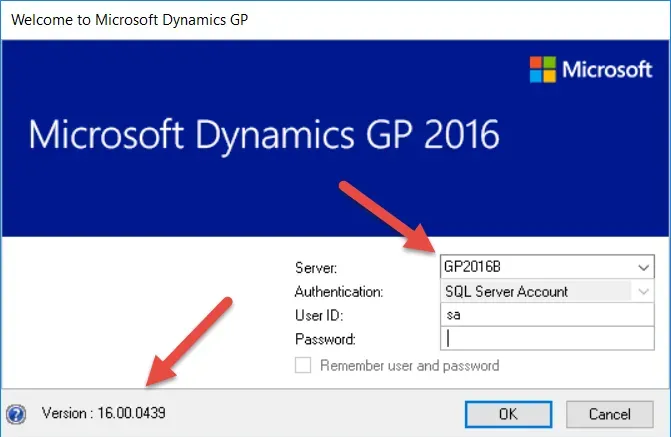
My goal was to update the “A” instance and leave the “B” instance at the current build. Just as a precaution, I took backups of both application directories anyway, in case something went wrong! Here are screenshots of the login screen with versions before I started.
Get the instance GUID from the registry
To apply the .msp to one instance on a machine where there are two instances of the same version, the installer needs to use a command prompt and reference a GUID for that instance from the registry on the machine. To do this, go to Start – Run – Regedit, and browse to the following location (this applies to Microsoft Dynamics GP 10 and later).
HKEY_LOCAL_MACHINESOFTWARE
  Wow6432Node
    Microsoft
      Business Solutions
        Great Plains
          1033
This is where to find the GUID on a 64-bit machine. GP 2013 (“v12.0”), GP 2015 (“v14.0”) and GP 2016 (“v16.0”) are all listed.
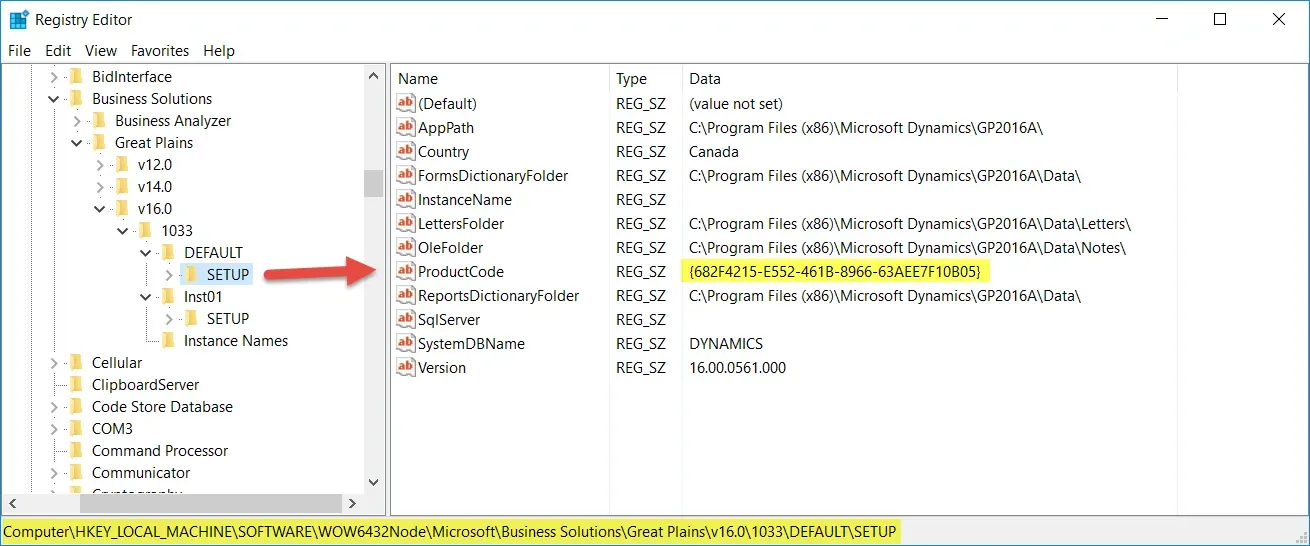
In the 1033 folder, each instance is listed. The first is called DEFAULT and thereafter is InstXX starting with 01. Within each of those instance folders, click on the Setup folder, double-click on the Product Code and copy that GUID.
Command Prompt syntax
For the actual command itself to run, this is the syntax I needed. The first line is just the generic format, and the second line is the command I used. For simplicity and to avoid a super long pathname, I put the .msp on the root of C: just for this purpose. Update the path to wherever the file resides of course.
c:my-update-file.msp /n {GUID}c:MicrosoftDynamicsGP16-KB3194397-ENU.msp /n {682F4215-E552-461B-8966-63AEE7F10B05}
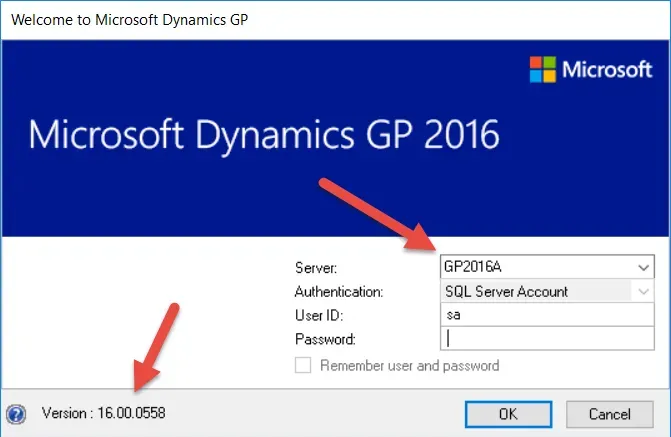
Once I run this in a command prompt, the .msp install occurs and from there, I launch GP Utilities, just as I would with any other update and I’m back to “normal” service pack processes! Here’s what my “A” instance looked like when I was done. Now I’ve got a GP 2016 “R1” and an “R2” to play with!
